

for Microsoft 365 & SharePoint Online
Introduction
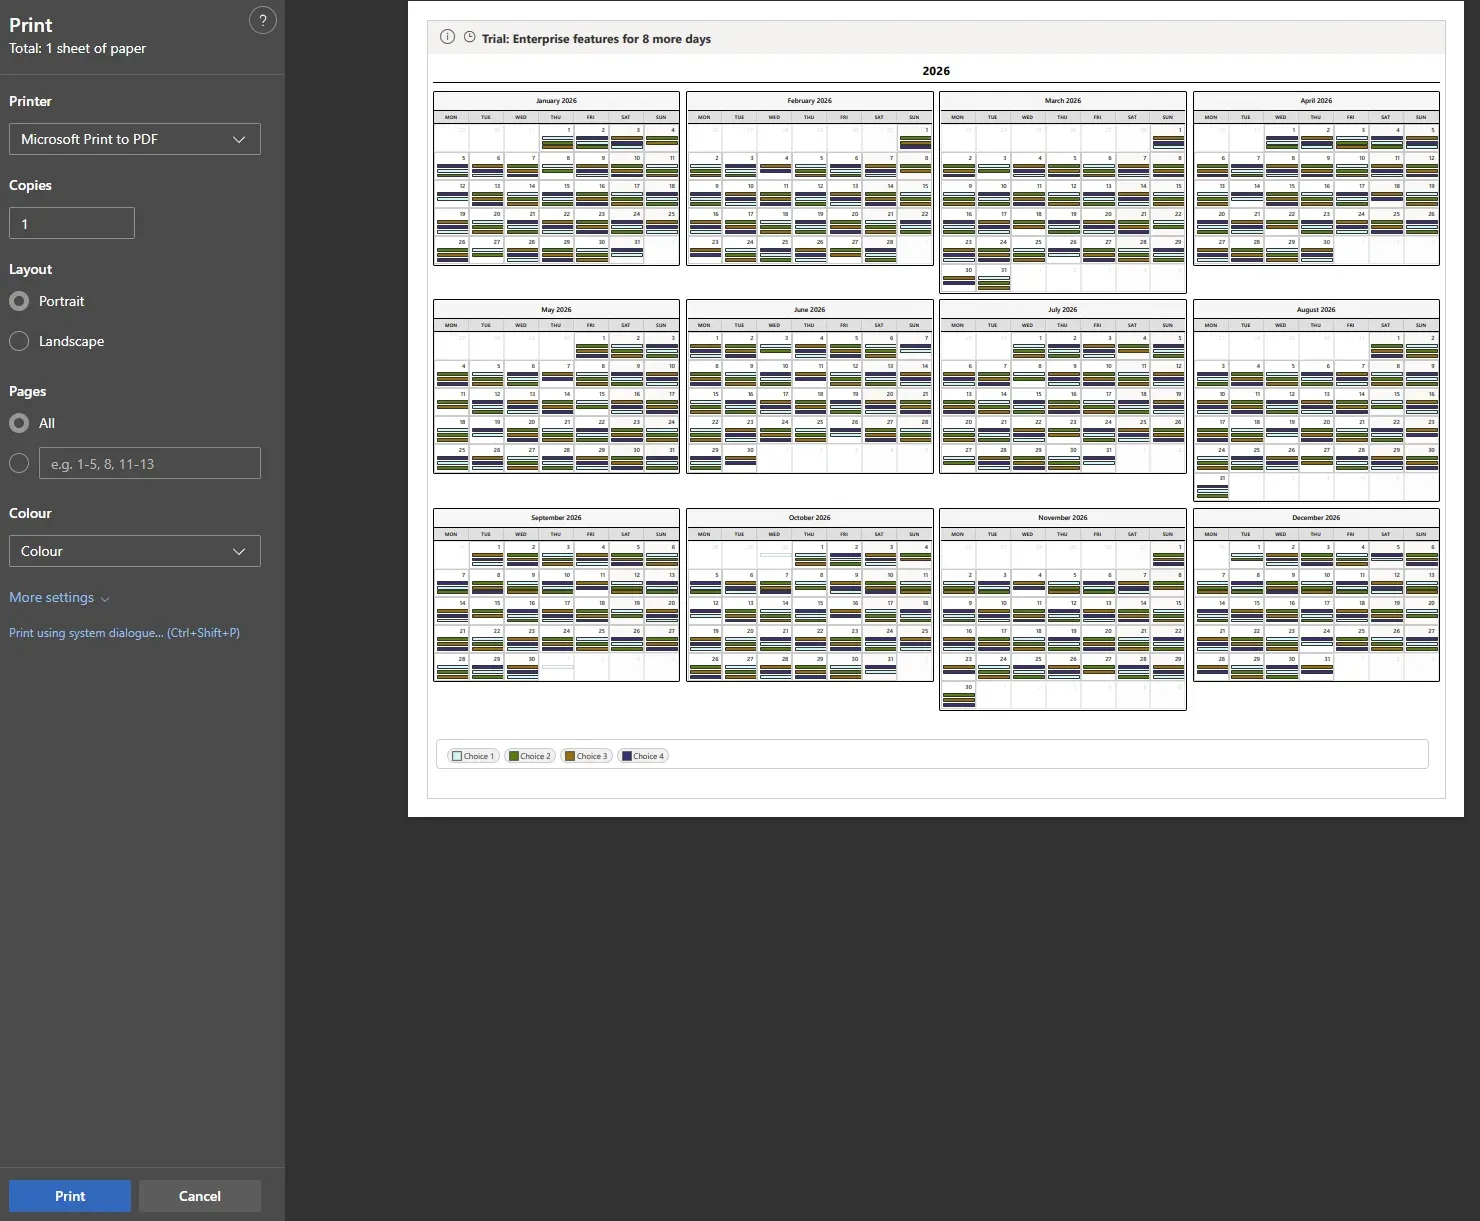
Calendar Planner is a SharePoint Framework (SPFx) web part designed for Microsoft 365 tenants. It provides year, month, week, and grid timeline views. All for event management using SharePoint list data. This guide walks you through the installation, configuration, licensing activation, and initial setup process.
Before installing Calendar Planner, ensure:
Prerequisites Required
Optional (recommended)
Installation Steps
Activate the SPFx App Package
Download and activate Calendar Planner via our listing in the Microsoft Marketplace. This is the easiest way to deploy the solution directly into your M365 tenancy.



Activate the SPFx App Package
Download and activate Calendar Planner via our listing in the Microsoft Marketplace. This is the easiest way to deploy the solution directly into your M365 tenancy.
Adding Calendar Planner to a Page

Go to the SharePoint page where you want the calendar, then search for Calendar Planner in the web parts gallery and insert it onto your page.
Initial Configuration
Open the property pane
Once the Calendar Planner web part has been added to the page, press the Configure Web Part button to open its property pane.

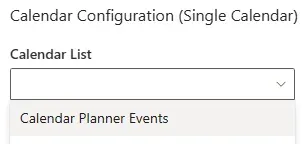
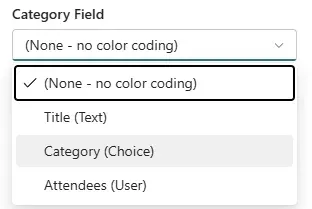
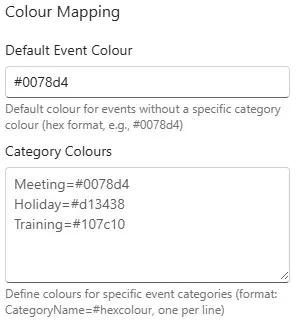
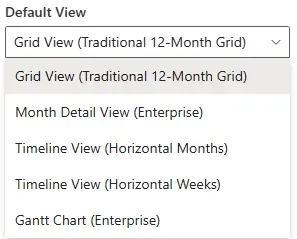
Open the property pane
Once the Calendar Planner web part has been added to the page, press the Configure Web Part button to open its property pane.
Licensing Activation
Calendar Planner validates your subscription using a secure SaaS licensing check.
Activation process:
- The web part automatically detects your Microsoft 365 tenant ID
- It securely transmits Tenant ID and App ID to the JFDI licensing service
- No personal data or event data is transmitted
- Valid licences activate the app immediately
If your licence cannot be validated, you’ll see an in-app message with steps to resolve the issue.
Manage License Key
Manage your licence at the bottom of the web part property pane. Click ‘Manage License Key’ to open the activation pane.

Activate License Key
Clicking ‘Manage License Key’ opens the ‘Activate License Key’ pane where you complete activation.

Validated Tier
Once validated, the corresponding licence tier appears at the top of the web part property pane.

Using Calendar Planner
Calendar Planner web part method
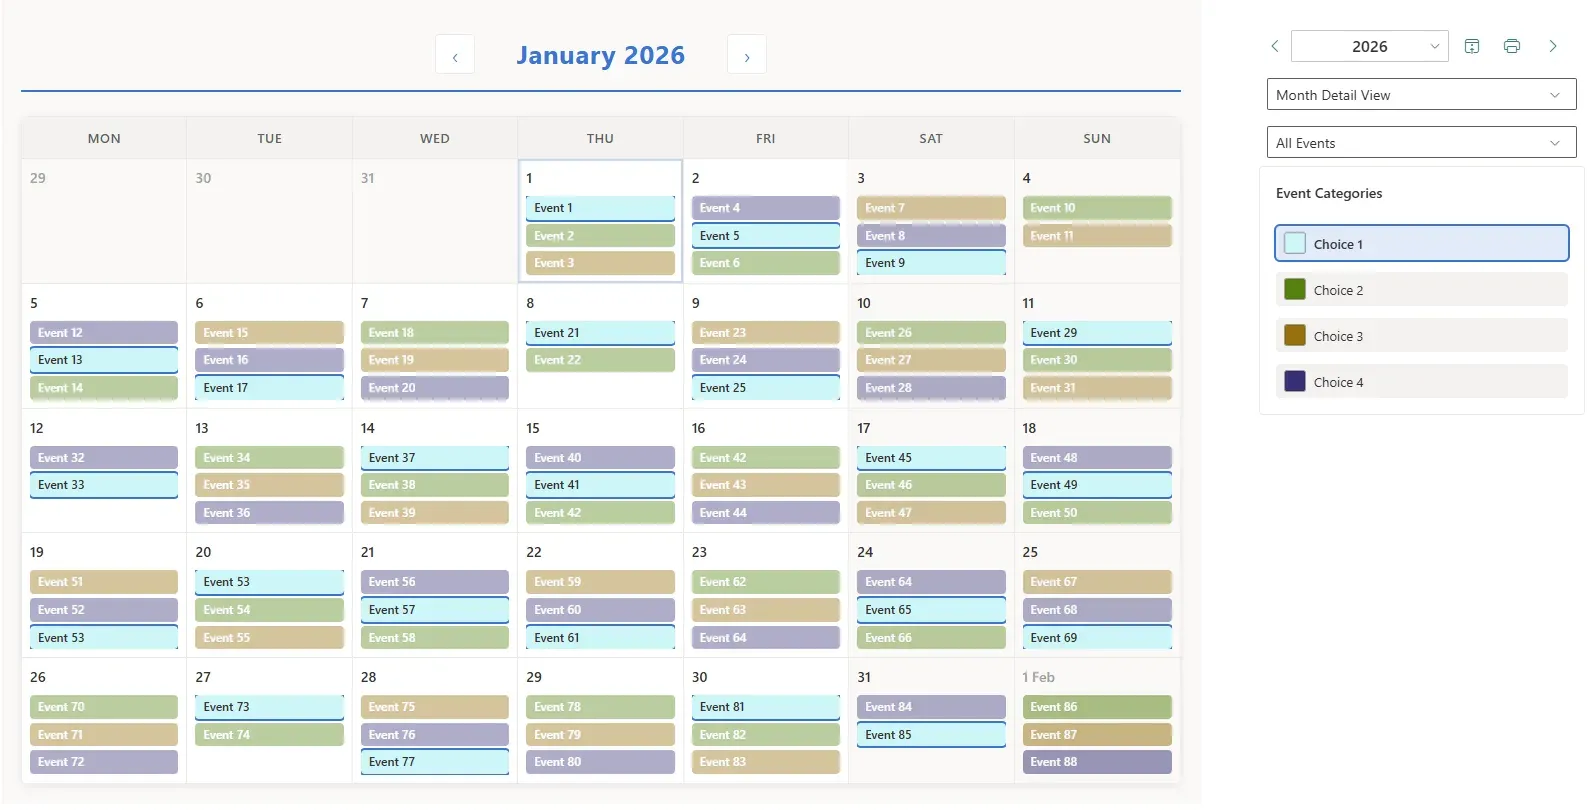
- Select any date to view its events in a side panel.
- Click Add Event in the top right of the panel.

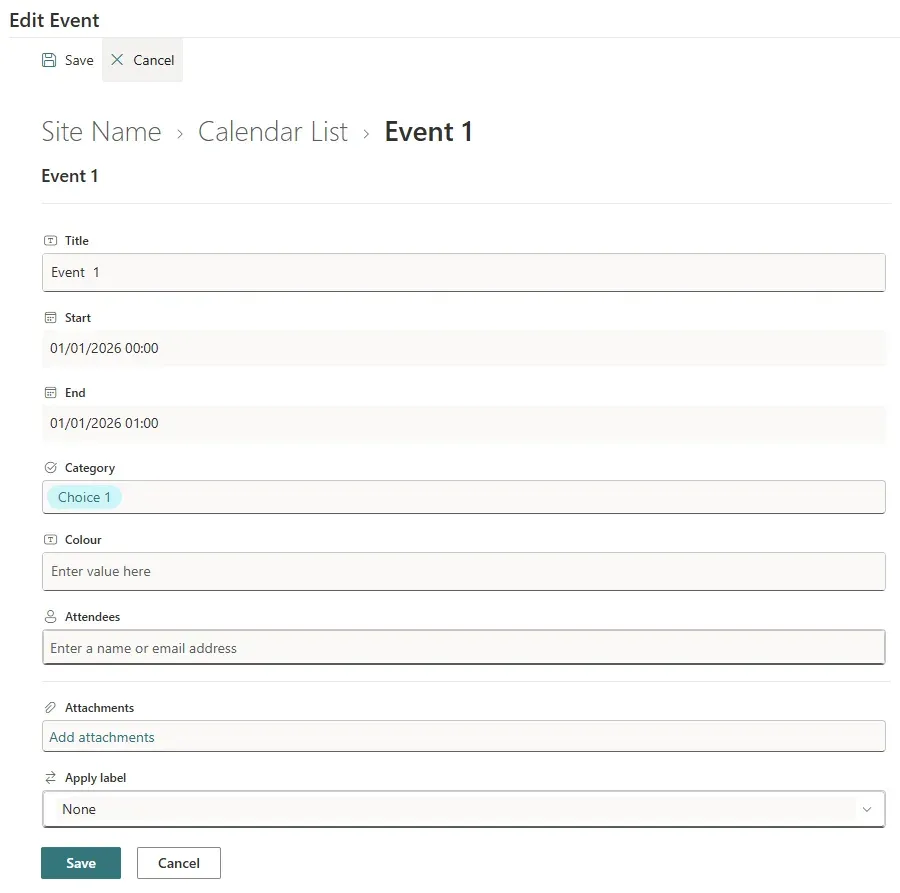
- Enter at least Title, Start and End dates.
- Select a Category if configured.
- Complete the New Item form and hit Save.

Native SharePoint List method
- Navigate to the SharePoint List the web part was configured against.
- Click the Add new item button.


Calendar Planner web part method
- Select any date to view its events in a side panel.
- Click Add Event in the top right of the panel.
- Enter at least Title, Start and End dates.
- Select a Category if configured.
- Complete the New Item form and hit Save.
Native SharePoint List method
- Navigate to the SharePoint List the web part was configured against.
- Click the Add new item button.
Permissions & Security
Calendar Planner respects SharePoint permissions. No data leaves your Microsoft 365 tenant.
| SharePoint Permission | Calendar Planner Behaviour |
|---|---|
| Read | User can view events |
| Contribute | User can add their own events to existing lists |
| Full Control | Full event management |
Troubleshooting
Web part not visible? Ensure the Calendar Planner app is installed on the site, and confirm the .sppkg was approved and deployed tenant-wide.
List not created? The user may lack permission to create lists. Create one manually using the template provided in the documentation.
Licensing error? Ensure your SaaS subscription is active. If a tenant ID mismatch occurs, contact support.
Helpful Resources
- Get Calendar Planner on Microsoft Marketplace
- Product Support — installation and configuration help
- Contact Us — talk to our team